Are you looking for a simple DIY ductless mini split?
Thank your lucky star because this post was written with you in mind.
call 661-888-0248
Contact us 24/7 for HVAC services!
Not to lie, there are a lot of procedures that claim to be DIY but end up being so complicated. We have simplified this DIY mini split selection and installation to ensure you get it right.
However, have to start with the first step, which is buying the ductless mini-split system. We want to ensure you have the right system to suit your needs. After you have bought the system, we can get to the hands-on DIY mini-splits installation process.
How to Select the Best DIY Ductless Mini Split
Of course, if you are going to do the installation process, you want to go for something DIY friendly. And one easy way would be to read reviews widely before making purchases.
However, beyond that, there are other crucial factors you should look at while selecting your mini-split.
We look at these factors in detail below.
What size DIY mini-split is appropriate for you?
Size is an essential factor in selecting a DIY mini-split. Getting both an undersized and an oversized unit will have consequences on the heating and air conditioning processes.
Here are the rough sizing estimates:
| Size Of DIY Mini Split: | Estimated Coverage: |
| 1-Ton (12,000 BTU) | Up To 600 Sq Ft |
| 1.5-Ton (18,000 BTU) | Up To 900 Sq Ft |
| 2-Ton (24,000 BTU) | Up To 1,200 Sq Ft |
| 2.5-Ton (30,000 BTU) | Up To 1,500 Sq Ft |
| 3-Ton (36,000 BTU) | Up To 1,800 Sq Ft |
The general thumb rule is 20 BTU per sq ft(1). However, this may vary depending on several factors, such as whether the zone is insulated or not.
High cooling energy efficiency DIY mini-split (or SEER rating).
This is an essential factor as it will help you lower cooling costs. If you want it more efficient, go for something with an 18 SEER rating or more. The higher the SEER rating, the higher the buying costs. However, this will all make more sense when the monthly cooling bills are lower.
High Heating Energy Efficiency DIY mini-split (or HSPF rating)
You also want to ensure that your DIY ductless mini-split has a high heating efficiency. During winter, heating can be expensive, and you don’t want to make it costlier with an inefficient ductless heat pump.
This is especially vital if you are looking for a ductless mini split for the garage. They are typically cold all year round, thanks to the cold concrete floor and lack of insulation.
Go for a reliable brand.
You need to select a reliable brand. Go for something that has been around for some time and has happy customers.
Some of the loved and reliable brands you may want to check out as your DIY mini split include:
DIY Mini Splits vs. Traditional Ductless Systems
While shopping for ductless mini-split systems, you must know that not all ductless mini splits ate DIY. This is why you need to be super-keen, not buy a traditional ductless mini-split that will need special tools and a professional hand.
Yes, not all mini-split units are designed to be DIY-friendly.
For instance, a DIY ductless mini-split comes with pre-charged refrigerant lines. We highly recommend you go for such options to save you the burden and danger of dealing with refrigerant liquids. We highly discourage non-professionals from dealing with refrigerants.
And you will notice that most DIY ductless systems come with components and tools you need for installation. Also, you will find a user-friendly user manual.
However, you need to know that many DIY ductless mini splits do not come with a solid warranty. Many warranties will only be recognized if a professional HVAC technician installs the mini-split unit.
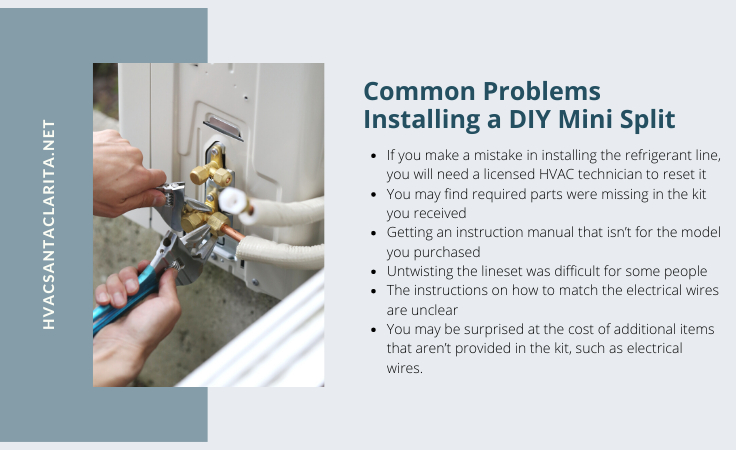
Common Problems Installing a DIY Mini Split
We liked to ask our clients about their experience with DIY mini split installation in the previous years.
And, some people had an easy time. Some ran into issues and still managed to install the ductless air conditioner. And some were completely stuck and had to call for professional HVAC technicians. Some did the installation successfully but ran into issues not long after, and they had to call for professional air conditioning services.
This shows you that you might run into some problems during the installation process. Some common problems that you can expect to run into during ductless mini split installation include:
- mistakes with refrigerant lines that may need you to call your local HVAC expert,
- missing parts in your kit, which you will have to contact your vendor or manufacturer,
- difficulties in untwisting the line set,
- unclear instructions on matching the electrical wires,
- complex to follow the user’s manual,
We, however, like to think that the level of difficulty depends on the person’s capabilities. For instance, someone with knowledge of connecting electrical wires will have it easier than someone who has never done it before.
DIY Ductless Mini Split: How to Install Ductless Air Conditioners
Here is the DIY AC unit installation procedure for ductless mini-splits. We assume that you have already bought your air conditioner at this stage.
Let’s get down to work.
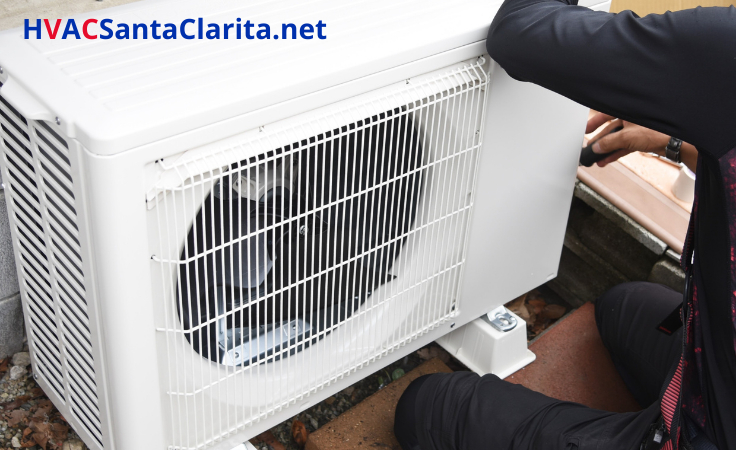
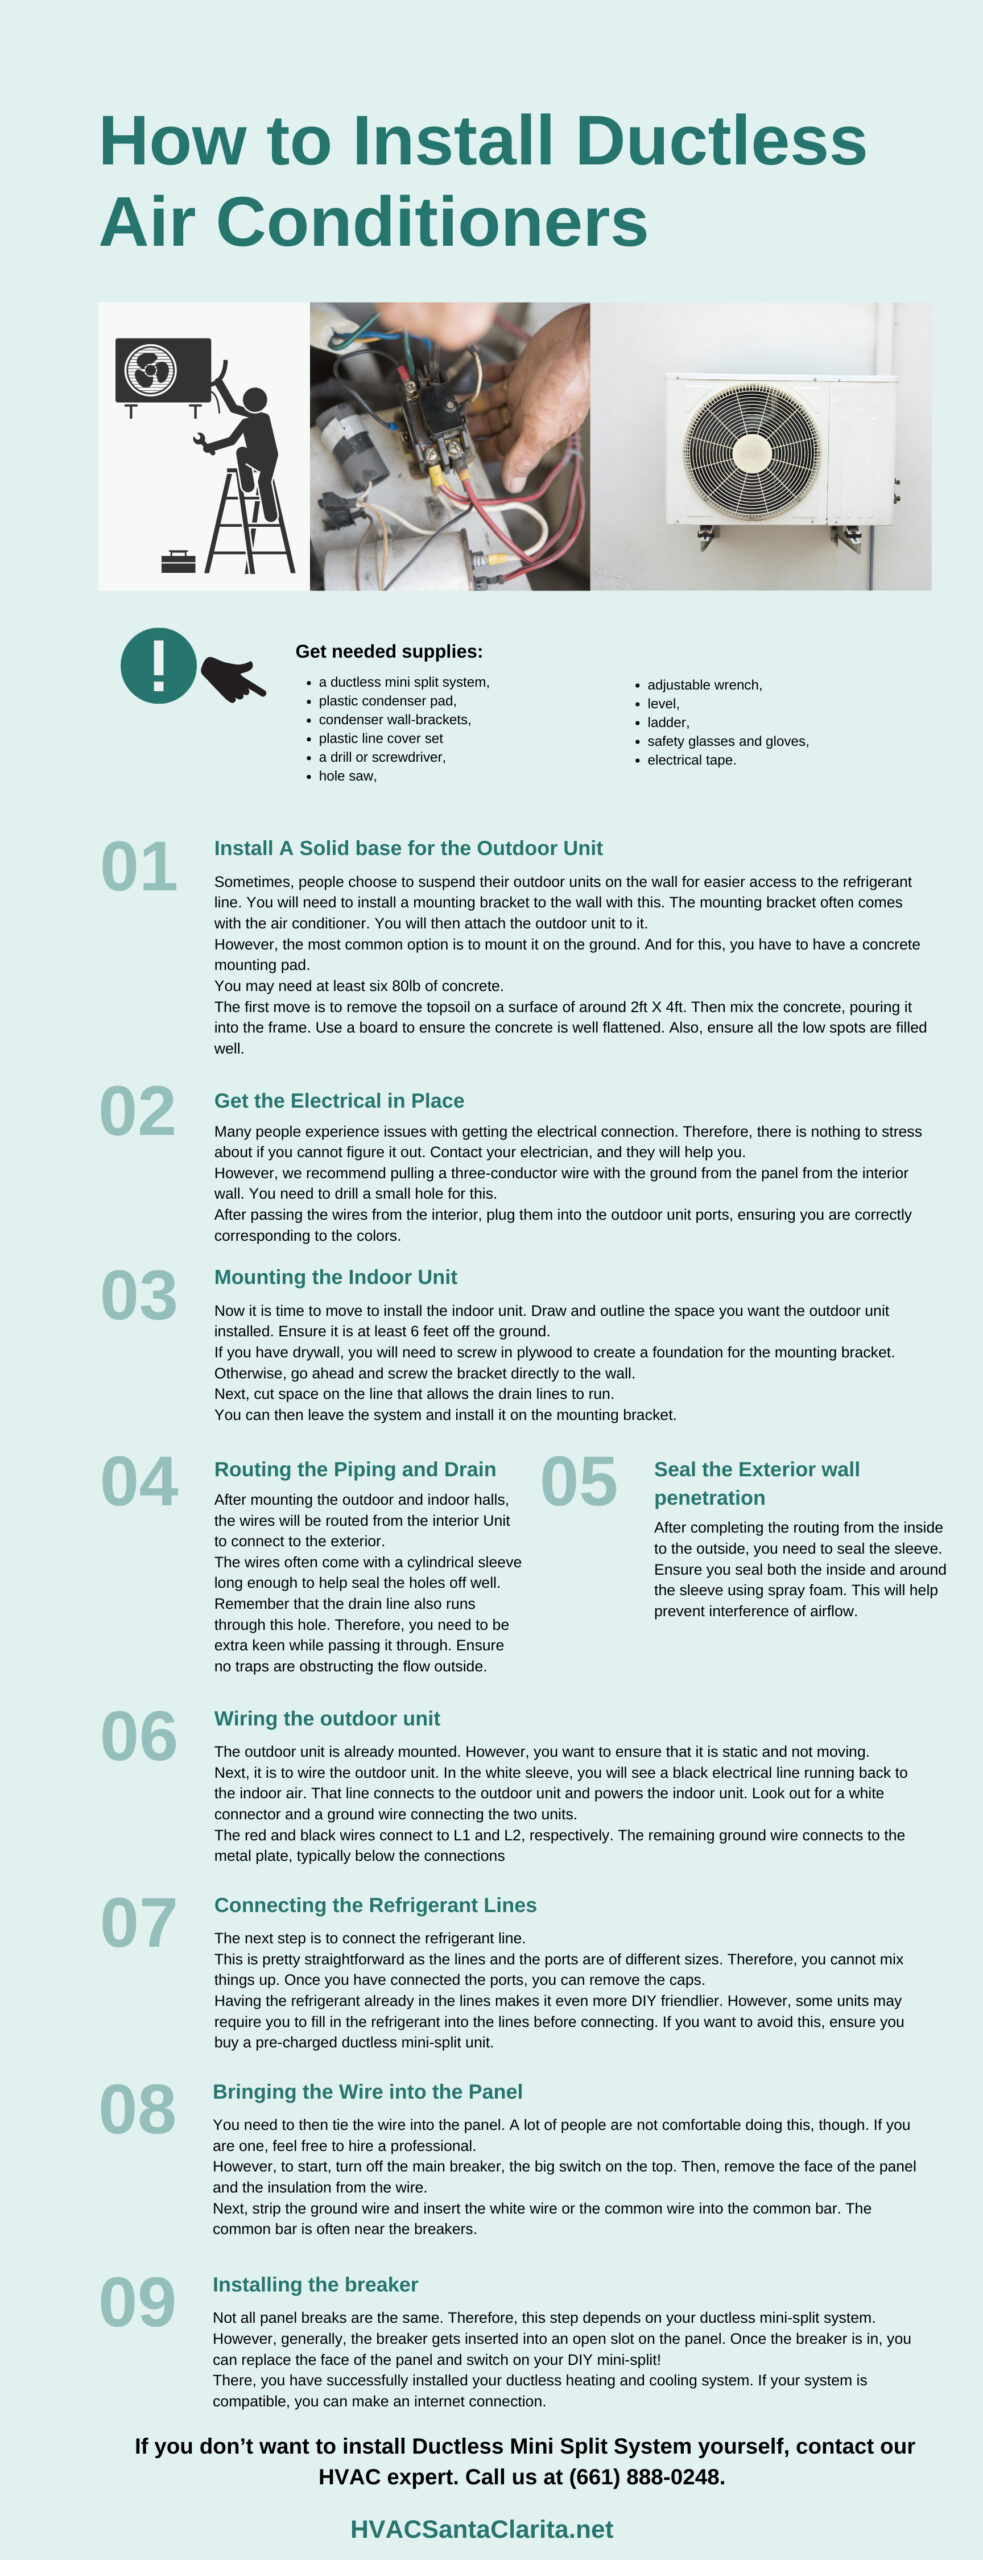
Step 1: Install A Solid base for the Outdoor Unit
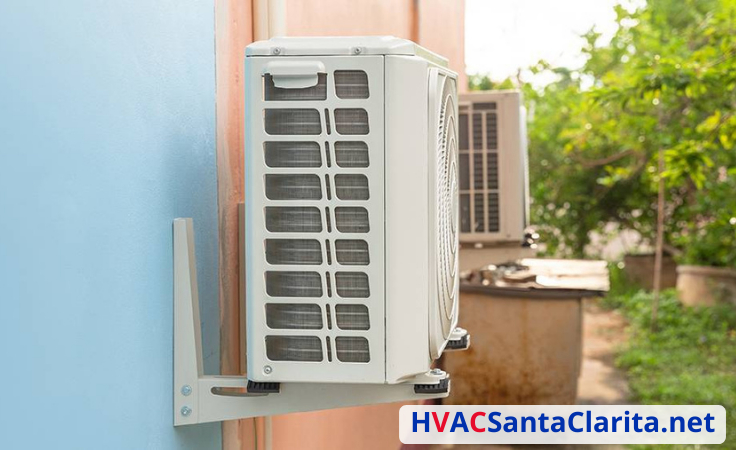
Sometimes, people choose to suspend their outdoor units on the wall for easier access to the refrigerant line. You will need to install a mounting bracket to the wall with this. The mounting bracket often comes with the air conditioner. You will then attach the outdoor unit to it.
However, the most common option is to mount it on the ground. And for this, you have to have a concrete mounting pad.
You may need at least six 80lb of concrete.
The first move is to remove the topsoil on a surface of around 2ft X 4ft. Then mix the concrete, pouring it into the frame. Use a board to ensure the concrete is well flattened. Also, ensure all the low spots are filled well.
Step 2: Get the Electrical in Place
Many people experience issues with getting the electrical connection. Therefore, there is nothing to stress about if you cannot figure it out. Contact your electrician, and they will help you (unless you DIY electricity as well).
However, we recommend pulling a three-conductor wire with the ground from the panel from the interior wall. You need to drill a small hole for this.
After passing the wires from the interior, plug them into the outdoor unit ports, ensuring you are correctly corresponding to the colors.
Step 3: Mounting the Indoor Unit
Now it is time to move to install the indoor unit. Draw and outline the space you want the outdoor unit installed. Ensure it is at least 6 feet off the ground.
If you have drywall, you will need to screw in plywood to create a foundation for the mounting bracket. Otherwise, go ahead and screw the bracket directly to the wall.
Next, cut space on the line that allows the drain lines to run.
You can then leave the system and install it on the mounting bracket.
Step 4: Routing the Piping and Drain
After mounting the outdoor and indoor halls, the wires will be routed from the interior Unit to connect to the exterior.
The wires often come with a cylindrical sleeve long enough to help seal the holes off well. Remember that the drain line also runs through this hole. Therefore, you need to be extra keen while passing it through. Ensure no traps are obstructing the flow outside.
Step 5: Seal the Exterior wall penetration
After completing the routing from the inside to the outside, you need to seal the sleeve. Ensure you seal both the inside and around the sleeve using spray foam. This will help prevent interference of airflow.
Step 6: Wiring the outdoor unit
The outdoor unit is already mounted. However, you want to ensure that it is static and not moving.
Next, it is to wire the outdoor unit. In the white sleeve, you will see a black electrical line running back to the indoor air. That line connects to the outdoor unit and powers the indoor unit. Look out for a white connector and a ground wire connecting the two units.
The red and black wires connect to L1 and L2, respectively. The remaining ground wire connects to the metal plate, typically below the connections.
Step 7: Connecting the Refrigerant Lines
The next step is to connect the refrigerant line.
This is pretty straightforward as the lines and the ports are of different sizes. Therefore, you cannot mix things up. Once you have connected the ports, you can remove the caps.
Having the refrigerant already in the lines makes it even more DIY friendlier. However, some units may require you to fill in the refrigerant into the lines before connecting. If you want to avoid this, ensure you buy a pre-charged ductless mini-split Unit.
Step 8: Bringing the Wire into the Panel
You need to then tie the wire into the panel. A lot of people are not comfortable doing this, though. If you are one, feel free to hire a professional.
However, to start, turn off the main breaker, the big switch on the top. Then, remove the face of the panel and the insulation from the wire.
Next, strip the ground wire and insert the white wire or the common wire into the common bar. The common bar is often near the breakers.
Step 9: Installing the breaker
Not all panel breaks are the same. Therefore, this step depends on your ductless mini-split system.
However, generally, the breaker gets inserted into an open slot on the panel. Once the breaker is in, you can replace the face of the panel and switch on your DIY mini-split!
There, you have successfully installed your ductless heating and cooling system. If your system is compatible, you can make an internet connection.
DIY Ductless Mini Split Frequently Asked Questions
We answer some FAQs on the DIY installation of ductless mini-split systems. We hope that this makes the installation process more doable for you.
Can I install a ductless mini-split myself?
Yes, installing a ductless mini-split on your own is possible, especially if the refrigerant lines are pre-charged. Otherwise, we recommend doing the indoor air handler and the outdoor unit. You can then contact your local HVAC technician to do the refrigerant job for you.
Which mini splits are DIY?
We would say anything that comes with pre-charged refrigerant lines. Be on the watch out for this while shopping.
Is Mr. Cool the only DIY mini-split?
MrCool is famous for being friendly to amateur installers. You don’t need any training and special tools to install it. However, you can check out other brands, such as Mitsubishi, which are equally easy to install. Pioneer, Klimaire and Cooper & Hunter also have DIY mini-splits you can look out for.
Final Words
It is our time to call it a day with DIY mini-splits. We know you can select a DIY mini-split and install it well at this juncture.
However, at some point, if you get stuck or need help, we will be glad to offer you our AC installation services. Contact us anytime, and we will assist you in selecting and installing ductless mini-splits.
call 661-888-0248
Contact us 24/7 for HVAC services!
Sources
https://www.homedepot.com/b/Heating-Venting-Cooling-Mini-Split-Air-Conditioners-DIY-Mini-Splits/N-5yc1vZ1z18ggo